Hi friends! Today, I want to share my favorite way to make a juicy and delicious roasted Chicken with Garlic. It might look fancy, but it’s pretty simple to do. Whenever I make this, my whole kitchen smells amazing, and everyone can’t wait to dig in!
Method
Brine the Chicken (Night Before)
To start, I remove any giblets from the chicken and pat the entire bird dry with paper towels. This helps the salt stick better and prevents excess moisture. Next, I place the chicken on a cooling rack set over a baking sheet—this setup allows any liquid to drip away rather than pool under the bird. I then sprinkle about 1/4 cup of kosher salt all over the chicken, making sure every surface is coated. Once salted, I put the chicken in the refrigerator uncovered overnight. This brining step is key for extra-crispy skin and unbeatable flavor because as the salt works its way into the meat, it locks in moisture and enhances the chicken’s natural taste.
Let Chicken Come to Room Temperature
On the day I plan to roast, I take the chicken out of the fridge about one hour before cooking. Allowing the bird to rest on the counter warms it up a bit and ensures that when I put it into the oven, it cooks more evenly. A cold chicken straight from the fridge might roast unevenly, leading to overcooked sections or undercooked spots. Giving it that brief waiting period prevents those issues.
Prepare the Vegetables
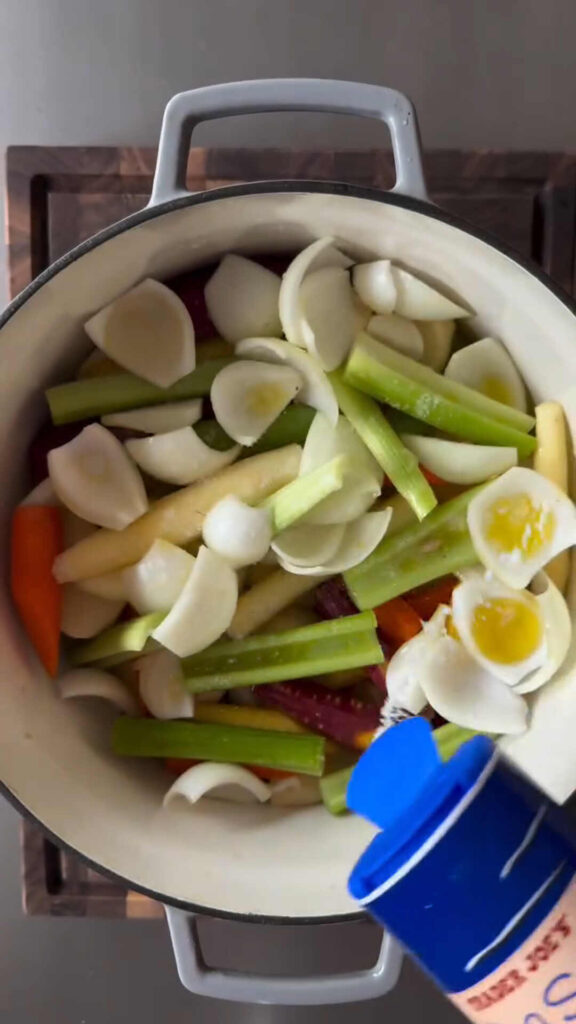
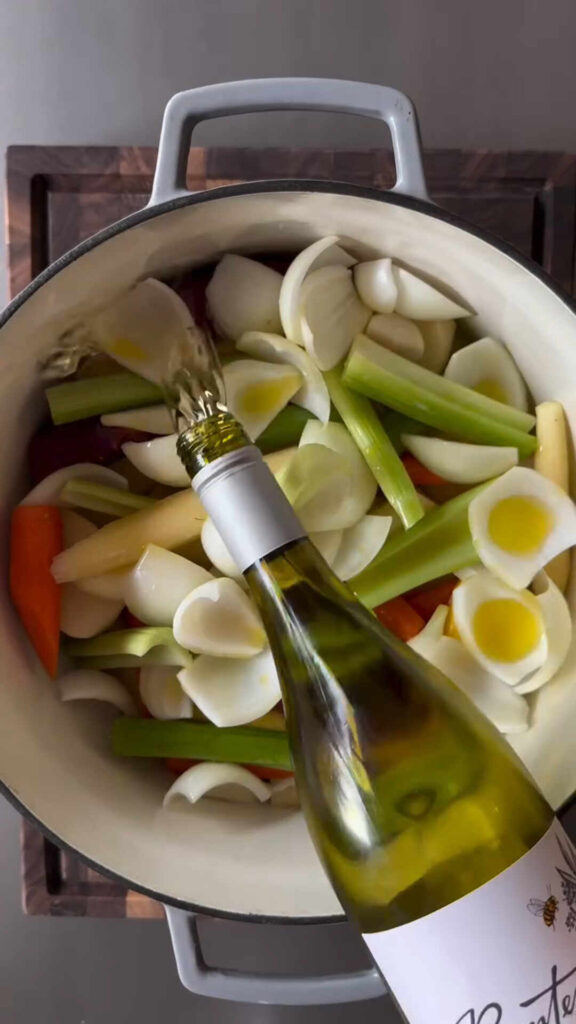
While the chicken is coming to room temperature, I focus on chopping my vegetables into medium-sized pieces so they’ll cook at a similar rate. I usually start by cutting a whole head of celery, slicing seven large carrots, dicing two onions, and chunking five medium potatoes. I place all these veggies in a large roasting dish or Dutch oven, then drizzle them with a little olive oil for added richness. After that, I season the vegetables with salt and pepper and pour in the juice of one lemon along with half a cup of white wine. Tossing them together ensures every vegetable piece is nicely coated, guaranteeing a flavorful base underneath the chicken.
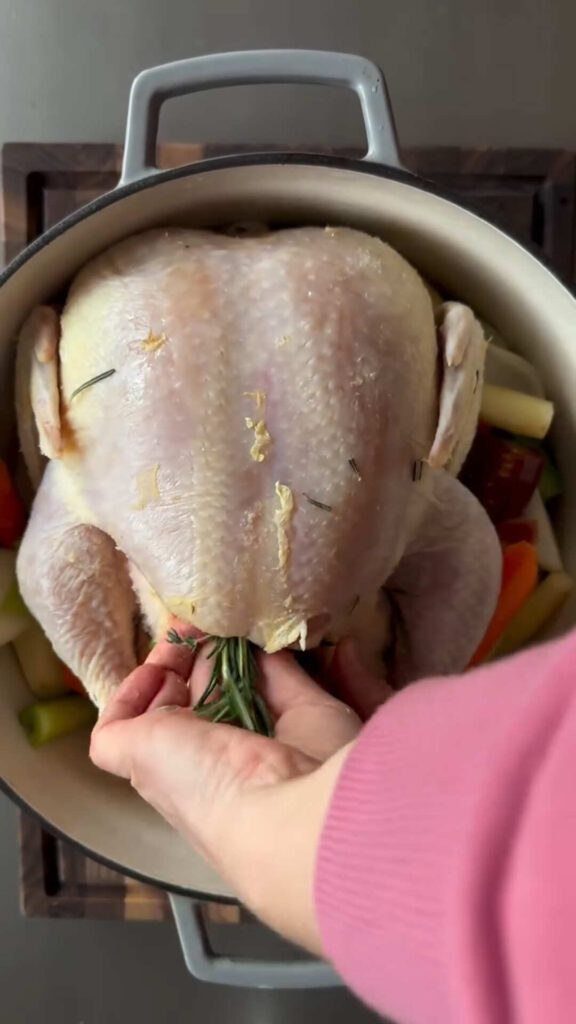
Stuff and Season the Chicken
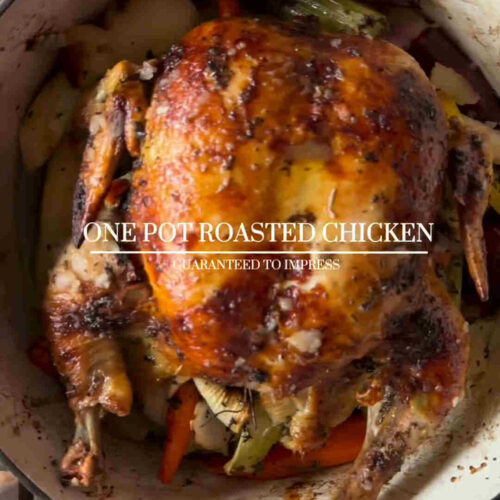
Once my vegetables are ready, I place the chicken directly on top of them. Then, I take fresh herbs like sage, rosemary, and thyme—along with lemon slices, some onion pieces, and a bit of extra celery or carrots—and fill the chicken’s cavity. This step infuses the bird with even more aroma as it roasts. Next, I create a quick herb butter by combining softened unsalted butter with roughly a teaspoon each of chopped rosemary, sage, and thyme. Using my hands (or a spoon), I spread this buttery mixture generously over the skin, making sure to lift the skin gently and get some of that flavor underneath. This extra layer of seasoning helps the skin turn golden brown and keeps the meat moist.
Roast the Chicken
With everything assembled, I preheat my oven to 425°F (220°C). Once heated, I slide the roasting dish—vegetables, chicken, and all—into the oven. I roast it uncovered for about two hours, or until an instant-read thermometer inserted in the thickest part of the chicken reaches between 165°F and 175°F (74°C-80°C). This temperature range ensures that the meat is fully cooked yet still tender. After the first hour, I pour in another half cup of white wine to add extra moisture and depth of flavor, then begin the basting routine. Every 15 minutes or so, I carefully spoon the cooking juices up and over the chicken. This basting step helps the skin brown evenly and stay wonderfully crisp.
Rest and Serve
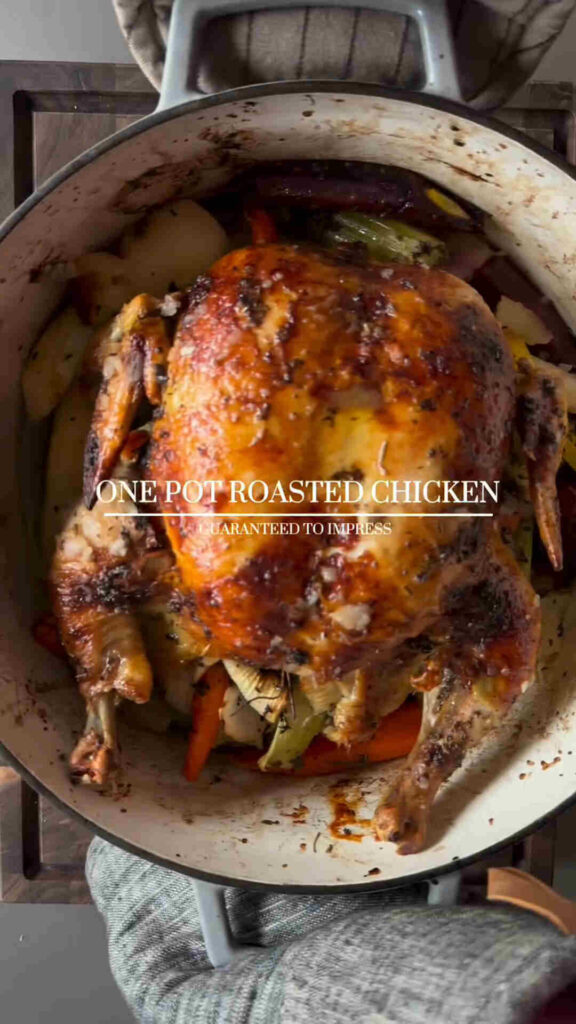
When the chicken has reached the correct internal temperature, I remove it from the oven and let it rest for 10 to 15 minutes. This waiting period is just long enough to let the juices redistribute throughout the meat, keeping every slice succulent. Finally, I carve the chicken and serve it with the beautifully roasted vegetables. The juices in the pot can even be used to make a quick gravy, completing the meal in the most delicious way.
Roasted Roasted Chicken with Garlic
Equipment
- A large roasting dish or Dutch oven (at least 8-quart size)
- Cooling rack (to place the chicken on while it brines)
- Cutting board and sharp knife
- Measuring cups and spoons
- Basting brush (optional, but helpful)
Ingredients
- 1 whole chicken about 6 lbs.
- 1 head of celery chopped
- 7 large carrots chopped
- 5 medium potatoes cut into chunks
- 2 large onions sliced
- 2 lemons juiced, plus extra slices for stuffing
- Fresh herbs such as sage, rosemary, and thyme
- 1/2 stick unsalted butter softened
- 1/4 cup kosher salt for the dry brine
- 1 cup dry white wine divided into two 1/2 cup portions
- Olive oil salt, and pepper (for seasoning vegetables)
Instructions
- Brine the Chicken (Night Before)
- First, remove any giblets from the chicken and pat it dry with paper towels.
- Place the chicken on a cooling rack set over a baking sheet (to catch any drips).
- Sprinkle 1/4 cup of kosher salt all over the chicken, making sure every part gets covered.
- Put it in the refrigerator, uncovered, overnight. This step helps the chicken get super crispy and flavorful.
- Let Chicken Come to Room Temperature
- The next day, take the chicken out of the fridge about one hour before you plan to roast it.
- This helps the chicken cook more evenly.
- Prepare the Vegetables
- Chop your celery, carrots, potatoes, and onions into medium pieces.
- Place them in your large roasting dish or Dutch oven.
- Drizzle with olive oil, season with a little salt and pepper, then add the juice of 1 lemon and 1/2 cup of white wine.
- Toss the veggies so everything gets coated nicely.
- Stuff and Season the Chicken
- Put the chicken on top of the vegetables.
- Fill the chicken’s cavity with fresh herbs, lemon slices, onion pieces, celery, and carrots (whatever fits!).
- In a small bowl, mix softened butter with about 1 teaspoon each of chopped rosemary, sage, and thyme.
- Spread this herb butter all over the chicken, even under the skin if you can. This makes the chicken extra tasty.
- Roast the Chicken
- Preheat your oven to 425°F (220°C).
- Place the chicken (still on top of the veggies) into the oven.
- Roast uncovered for about 2 hours, or until a meat thermometer reads 165°F-175°F (74°C-80°C) in the thickest part of the chicken.
- After the first hour, pour in another 1/2 cup of white wine and baste the chicken with the cooking juices.
- Continue basting every 15 minutes until the chicken is done.
- Rest and Serve
- Once fully cooked, take the chicken out of the oven and let it rest for 10-15 minutes.
- This rest time keeps the meat juicy. Then, slice and enjoy with your roasted vegetables!
Notes
- Don’t Skip the Brine
- The salt brine step gives the chicken crispy skin. If you skip it, the chicken won’t be nearly as crunchy on the outside.
- Watch the Temperature
- Keep an eye on the thermometer. Overcooked chicken can become dry, and undercooked chicken isn’t safe to eat.
- Baste Carefully
- Every time you open the oven, the temperature drops. Be quick and careful when basting so you keep the heat inside.
- Let it Rest
- Slicing right away causes the juices to run out, so wait that 10-15 minutes for maximum juiciness.
Serving Suggestions
I love to serve this roasted chicken with a side of fresh salad or some warm dinner rolls. The roasted veggies underneath are already bursting with flavor, so you don’t need much else. A gravy made from the pan juices can also be a tasty addition!
Fun Fact
Did you know that chickens were first raised thousands of years ago in Southeast Asia? Over time, they became one of the most popular sources of protein around the world!
Conclusion
And that’s my easy-peasy one-pot roasted chicken! I love how everything cooks together in one dish, making it simple to clean up and super flavorful. Give it a try, and let me know how it turns out. You’ll have a meal that’s perfect for a casual family dinner or a special celebration. Enjoy!