
Hello there! Today, I’m super excited to share my special recipe for a healthier version of Tiramisu. Traditionally, Tiramisu is an Italian dessert made with sweet cookies called “ladyfingers” and creamy layers of mascarpone cheese. But in my version, we’re using brown bread, low-fat paneer (a type of cheese), curd (yogurt), and just a bit of honey. This makes our Tiramisu delicious and a little kinder to our bodies. Let’s get started!
Method
Make the Creamy Layer
I begin by gathering the paneer, curd, honey, and a few drops of vanilla essence (if I want that extra aroma). I place them all into my blender and switch it on, carefully watching the mixture turn smooth and fluffy. If I feel it needs a bit more sweetness, I include a zero-calorie sweetener. The key here is to blend everything until no lumps are remaining—this ensures a silky texture. I love how the paneer and curd combine to form a velvety base that’s just perfect for our healthier Tiramisu.
Prepare the Bread
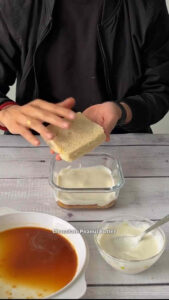
Once I’m done with the cream, I turn my attention to the bread. I trim off the crusty edges, keeping the slices neat and uniform. Then I prepare a shallow bowl of cooled brewed coffee. I quickly dip each slice into the coffee, making sure that both sides soak up the flavor. However, I’m careful not to let the bread linger too long in the liquid because it can turn mushy very fast. A short, brisk dip is all it takes to infuse that rich coffee essence.
Start Layering
With my bread and cream ready, I choose a serving dish where I lay out my first coffee-soaked bread slice at the bottom. Next, I generously spread a thick layer of the creamy paneer–curd mixture on top of this slice, making sure it reaches all the edges. For the second slice, I like to add an extra twist by spreading a thin layer of peanut butter before dipping it in coffee. Once it’s lightly soaked, I carefully place this slice over the cream. The peanut butter adds a lovely, nutty surprise that complements the sweetness and coffee tones perfectly.
Final Touches
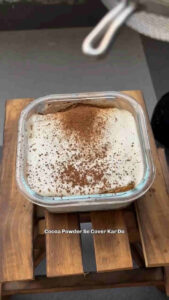
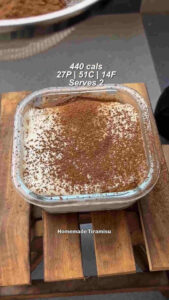
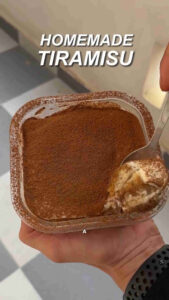
Now that the two bread layers are in place, I top everything with another big dollop of my creamy mixture, smoothing it out evenly to create a neat, uniform layer. This final flourish of cream gives the dessert its classic Tiramisu look. I dust a teaspoon of cocoa powder over the top to complete the presentation. The deep chocolate color looks beautiful and adds that special flavor Tiramisu is famous for.
Chill & Serve
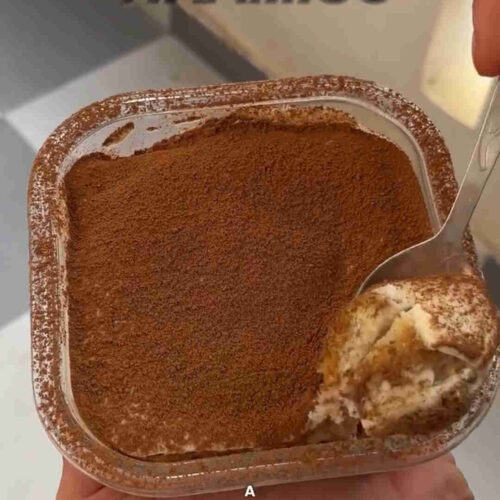
At this point, the most important step is letting the Tiramisu sit in the refrigerator. I usually keep it chilled for at least half an hour, although waiting even longer can let the flavors mingle even more. After it’s nicely cooled, I take it out and serve it right away. The aroma of coffee and cocoa together is truly delightful, and the creamy layers taste even better when chilled. When I finally scoop into the dessert, every bite has that perfect blend of coffee-soaked bread and light, airy cream—an indulgence that feels a little more wholesome than the traditional version!
Classic Tiramisu
Equipment
- Blender or food processor
- Mixing bowl
- Spoon or spatula
- Shallow plate or bowl (for dipping bread in coffee)
- Serving dish or container
Ingredients
- 2 slices of brown bread
- 100 g low-fat paneer cottage cheese
- 75 g curd plain yogurt
- 1 tablespoon honey
- 1 teaspoon cocoa powder
- 1 teaspoon peanut butter
- Brewed coffee cooled
- A few drops of vanilla essence optional
- Zero-calorie sweetener optional
Instructions
- Make the Creamy Layer:
- First, I blend together the paneer, curd, honey, and a little vanilla essence (if I want extra flavor).
- If I need more sweetness, I might add a zero-calorie sweetener.
- I blend until it becomes smooth and creamy.
- Prepare the Bread:
- I trim the edges off the brown bread slices.
- Then, I briefly dip each slice in the cooled coffee. I’m careful not to soak them too much so they don’t become soggy.
- Start Layering:
- I place one coffee-soaked bread slice at the bottom of my serving dish.
- Next, I spread a thick layer of the creamy mixture on top.
- On the second slice, I spread a thin layer of peanut butter, dip it in coffee, and then place it on top of the cream layer.
- Final Touches:
- I add another layer of cream on top of the second bread slice.
- Finally, I dust the top with cocoa powder for a classic Tiramisu look.
- Chill & Serve:
- I pop the Tiramisu into the refrigerator for at least 30 minutes so all the flavors can come together.
- Once it’s chilled, it’s ready to eat. Yum!
Notes
- Don’t oversoak the bread: If the bread gets too wet, it can turn mushy. A quick dip is enough.
- Blend carefully: Make sure there are no lumps in your paneer and curd mix. If it’s still lumpy, blend a bit longer.
- Chill properly: Giving your Tiramisu at least 30 minutes in the refrigerator makes it extra delicious.
Serving Suggestions
- I like to garnish it with a sprinkle of cocoa powder, or even top it with a few fresh berries.
- A dollop of whipped cream (even a low-fat one) on the side can make it look fancy.
- Serve chilled right out of the fridge for the best taste.
Fun Fact
Did you know that “Tiramisu” means “pick me up” in Italian? The coffee in this dessert is what gives it that name—it’s meant to give you a little boost!
Conclusion
I hope you enjoy making and tasting this healthier Tiramisu as much as I do. It’s a simple recipe that blends the classic flavors of coffee and cream without too much guilt. Give it a try, and let me know if it becomes a new favorite dessert at your home!